Tile trim closes the gaps and protects tile edges from damage. It’s a key element for both durability and aesthetics in tiling projects. This guide covers everything about tile trim—from types and selection to installation steps.
Key Takeaways
- Tile trim protects edges from damage, prevents water leaks, and enhances aesthetics
- Choose trim based on material needs—stone for elegance, metal for durability, ceramic for matching, and PVC for moisture resistance
- Measure accurately and add 10% extra to avoid shortages during installation
- Select trim depth slightly deeper (1/8″) than tile thickness for proper flush finish
- Install trim by applying adhesive, embedding the anchor leg, and maintaining 2mm gaps in wet areas
- Regular cleaning with appropriate products extends trim life and maintains appearance
- Common mistakes include selecting mismatched trim and improper cutting techniques
Understanding Tile Trim
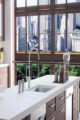
Tile trim refers to the finishing edges of tiled areas. It’s not just about aesthetics; tile trim serves several important functions. It protects tile edges from chipping and damage, ensuring longer-lasting, pristine tiles. Tile trim also prevents water damage by sealing tile edges, especially in wet areas like bathrooms and kitchens.
Safety is another key aspect, as tile trim eliminates sharp edges that could lead to injuries. Finally, tile trim enhances the overall aesthetic appeal by providing a clean and finished look to tiled surfaces.
Learning to fit tile trim is a valuable skill for both professionals and DIY enthusiasts. Mastering this skill ensures your tiling projects look great and are durable. Understanding the role and importance of tile trim is crucial for achieving a flawless finish, whether you’re working with ceramic tiles, floor tiles, or any other type.
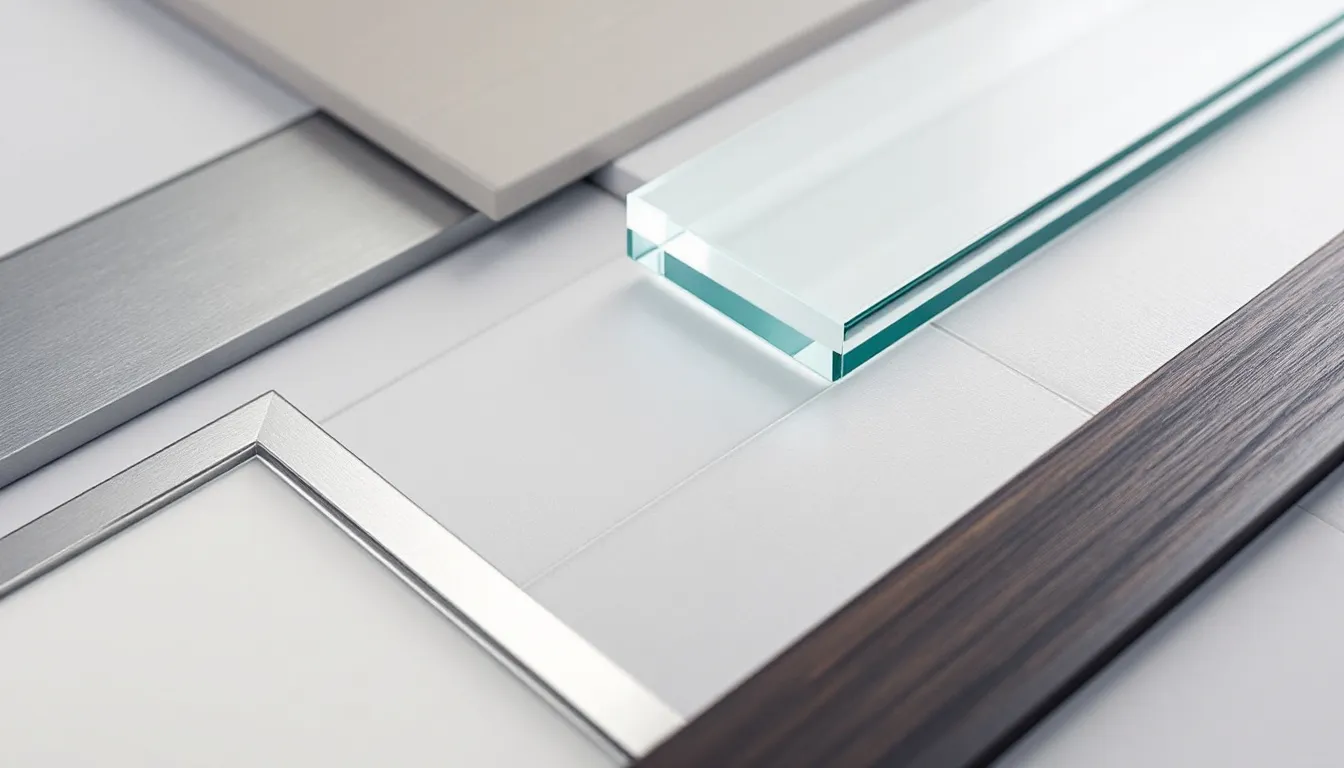
Types of Tile Trim
Tile trim options vary widely, each bringing unique qualities to your project. Stone trim crafted from marble or granite adds luxury to any room.
These natural materials transform ordinary spaces into stunning showcases of elegance.
- Metal trim stands out for toughness, making it perfect for busy areas needing extra protection.
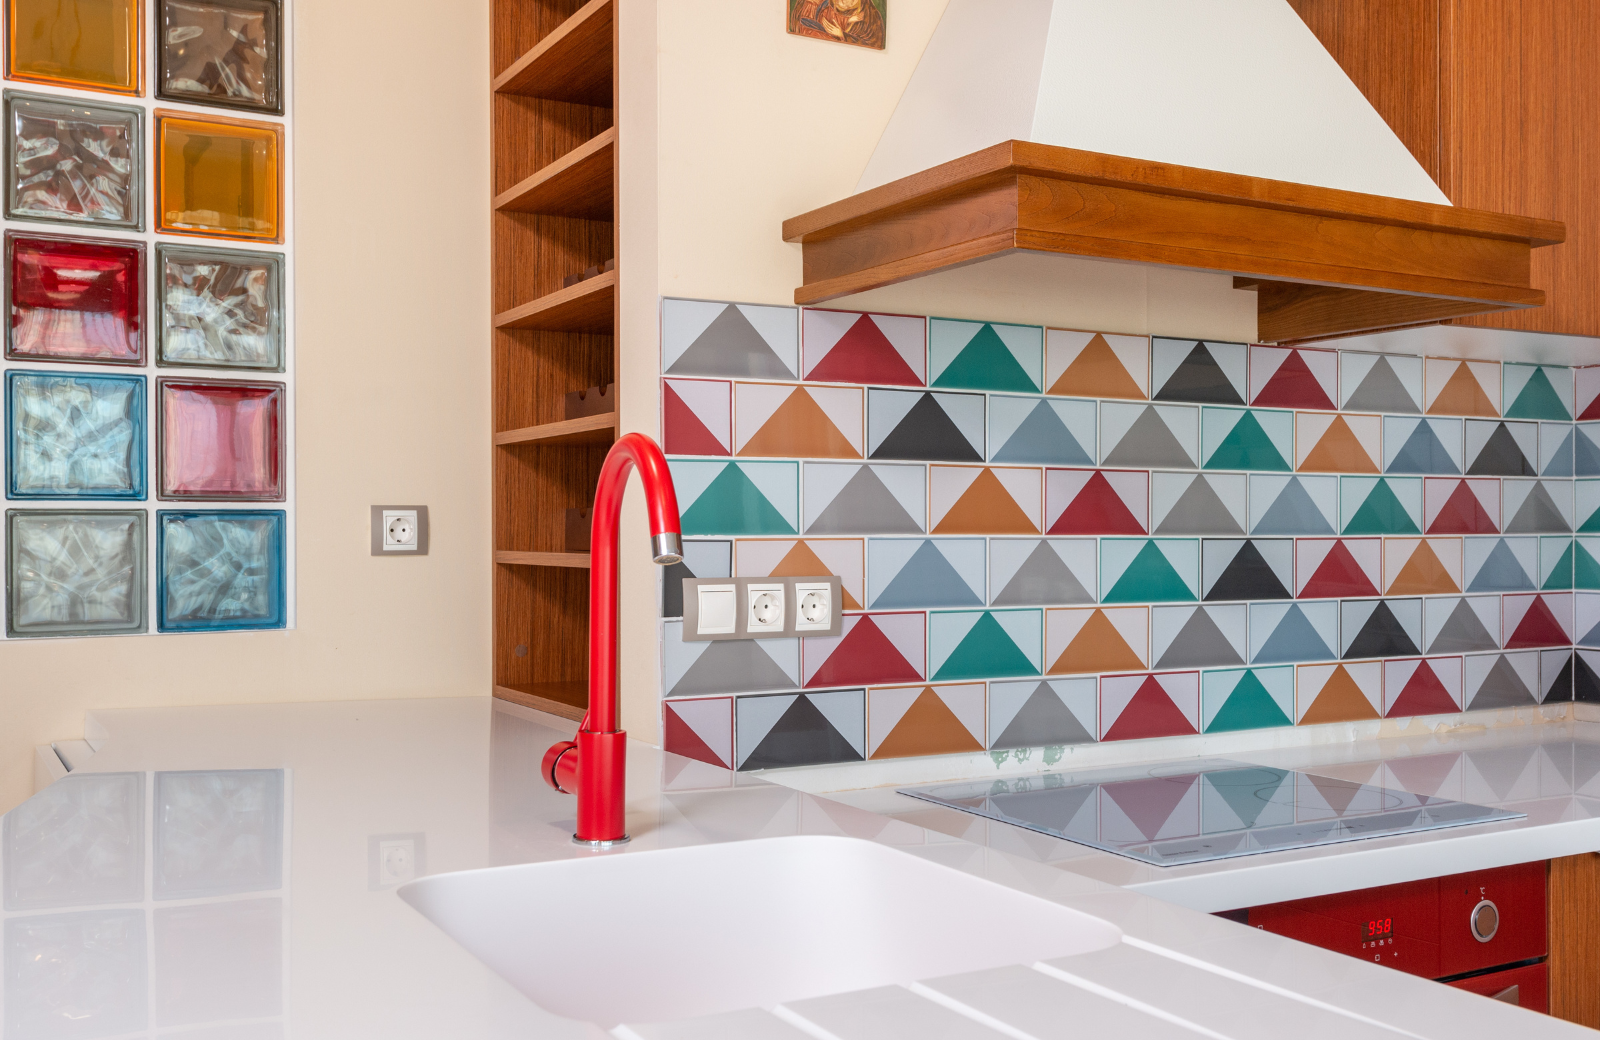
- Ceramic trim matches your porcelain tiles perfectly, creating seamless bathroom and kitchen surfaces. This matching ability creates flow throughout your tiled areas without visual disruptions.
- PVC trim weighs almost nothing while fighting moisture effectively in humid spaces. DIY fans love this option because it costs less and installs without special tools.
- Aluminum and stainless steel trims offer amazing protection plus tons of finish options. Whether your style leans modern or traditional, metal trim adapts to your vision.
At Cavastone, we help customers match the right trim to their specific project needs.
The perfect trim choice depends on your project location, traffic levels, and design goals.
Having worked with luxury tiles for over 19 years, I’ve seen how the right trim choice makes or breaks a tiling project.
Choosing the Right Tile Trim
Picking the perfect tile trim makes all the difference in your project’s success.
Mismatched trim can ruin both durability and visual flow throughout your space.
When I help customers at Cavastone, we focus on three main factors: material, finish, and depth.
Metal trim works wonders in high-traffic areas thanks to its strength and finish variety. Your material options include metal, plastic, and ceramic – each with unique strengths for different applications.
Finish options range from matte and gloss to brushed and textured surfaces. This variety lets you match or contrast with your porcelain slabs or natural stone perfectly.
Square edge trims continue gaining fans because of their bold, contemporary look. These differ dramatically from traditional straight edges and create striking visual lines.
The best trim finish enhances your design without stealing attention from the tiles themselves. The biggest mistake I see happens when DIYers choose the wrong trim depth.
Always select trim slightly deeper than your tile thickness for that professional flush finish. Many people mistakenly measure only the thinner tile edge instead of the thicker cut edge.
This oversight creates uneven edges that instantly reveal amateur workmanship.
For DIY projects, I recommend going 1/8″ deeper with your trim selection. This small detail makes your luxury tile installation look professionally executed.
After 19 years in the tile business, I’ve learned these small details create the biggest impact.
Calculating Tile Trim Needs
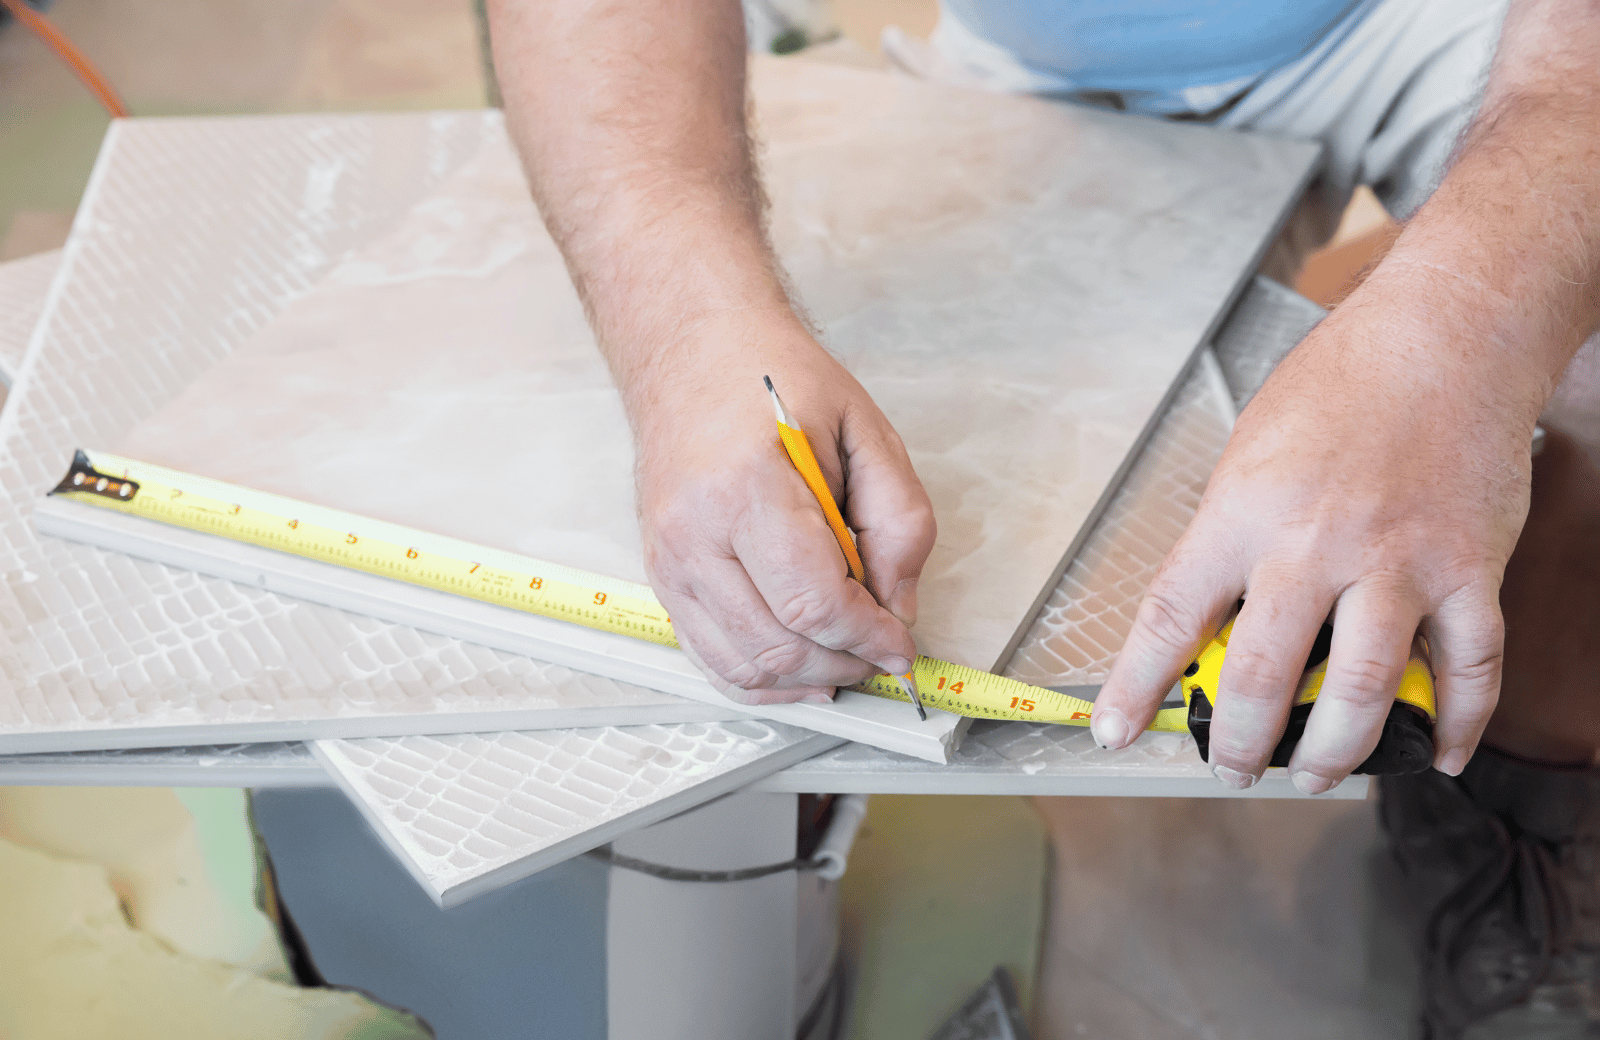
Getting your measurements right saves both time and money on trim projects.
I always tell my customers to measure the total edge length, then divide by the trim width. This simple math gives you the basic amount needed for your project.
Never skip adding that extra 10% to cover mistakes or unexpected issues. That small buffer prevents emergency runs to the store when you run short. Trust me, nothing kills project momentum like running out of materials mid-installation.
Always check both tile depth and trim depth to guarantee they work together. I’ve seen countless projects where mismatched depths created unsightly gaps or overlaps.
Sloppy measuring during planning leads to trim that fights against your beautiful porcelain or natural stone.
These measurement mistakes destroy the clean lines and flow of otherwise stunning installations. Taking time for precise measurements now prevents headaches and disappointments later.
Installing Tile Trim

Always start tile trim work after your waterproofing membrane goes in place.
- First, apply polyurethane adhesive along the edge to create a strong bond for your trim.
- Press the trim firmly into position, making sure the anchor leg embeds properly into the mortar.
- Cutting and aligning trim with precision prevents those annoying uneven edges that catch everyone’s eye.
- Square edge trims demand perfect miter joint cuts to maintain that seamless look pros achieve.
Curved layouts work great with bendable trim options that follow non-linear patterns beautifully.
You can even find special profiles for updating existing tile installations without ripping everything out.
Tools and Materials Needed
Success starts with having the right tools ready before you begin.
- A quality measuring tape ensures your trim fits exactly where needed without gaps or overlaps.
- Grab a notched trowel to spread adhesive evenly, creating consistent bonding strength throughout.
- For basic cutting needs, a junior hacksaw works fine for straight cuts on most trim types.
- Precise cuts on square edge trims really need a miter saw equipped with a steel cutting wheel.
Don’t forget your adhesive and grout – these create the foundation for a lasting installation. Having everything prepared before starting makes the whole process flow much more smoothly.
Step-by-Step Installation Guide
- Mix your adhesive exactly according to what the manufacturer recommends on the package.
- Apply this mixture where your trim will sit, creating a solid foundation for attachment.
- Cut your trim’s anchor leg to a 1/4″ width for optimal embedding into the mortar bed.
- File away any rough burrs from cutting – these can prevent flush installation if left behind.
- Push your trim firmly into the adhesive along the entire edge length for consistent attachment.
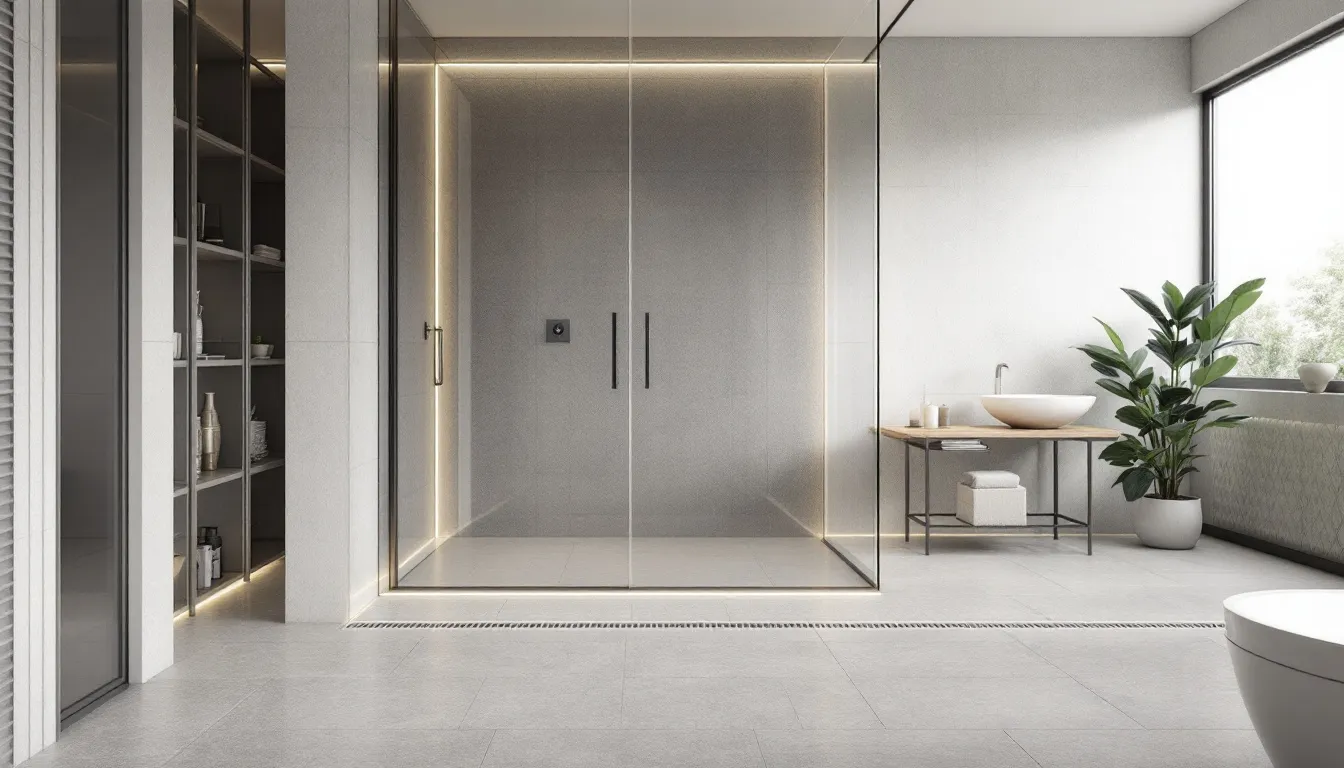
- For bathroom or kitchen installations, leave a 2mm gap between trim and tiled edge for expansion.
- Create a 1/4″ deep trough in the thinset beneath tiles where your trim will rest.
- When working around curves, make two 45-degree angle cuts to help the trim bend naturally.
- Trim snips help shape pieces perfectly around corners and curves for that professional finish.
Special Considerations for Corners
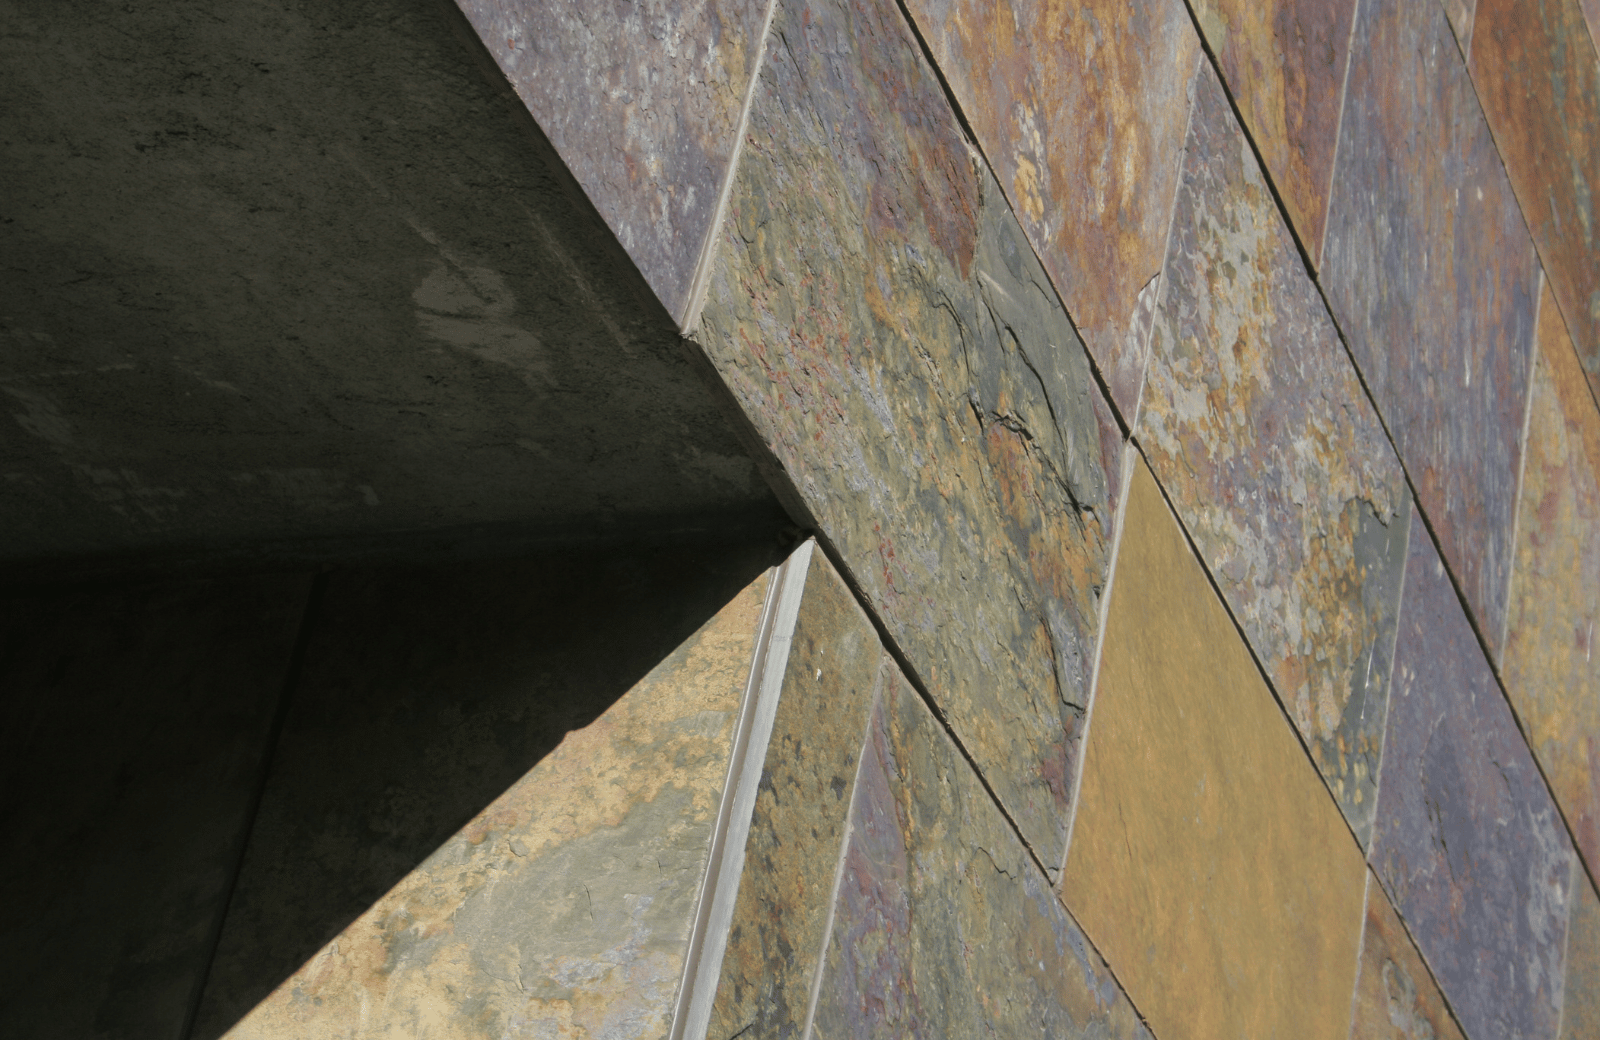
Corner trim work demands extra attention due to those tricky angles where tiles meet. V-shaped trim works wonders in corners by protecting edges while reducing safety risks.
Complex trim profiles need perfect miter joints to align correctly at corner transitions.
Inside corners benefit from specialized edge trim that looks great and cleans easily. This special trim also creates complete sealing protection against moisture damage.
Many pros finish inside corners by tiling against adjacent pieces with a silicon bead. This technique creates that flawless transition that screams professional installation.
End caps and corner trim pieces deliver clean, waterproof finishes where walls meet.
Measuring twice before cutting ensures your corner pieces fit perfectly every time. Always check top surface flatness before installation to achieve that crisp, clean joint.
Alternatives to Traditional Tile Trim

Want options beyond standard tile trim? Several alternatives deliver stunning high-end finishes.
PVC trim and bullnose tiles work great for exposed edges without breaking your budget. These practical solutions protect edges while maintaining visual appeal throughout your space.
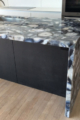
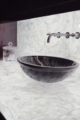
Marble tile edges bring instant elegance to any project when used instead of conventional bullnose.
Real and engineered stone options continue growing in popularity for edge treatments. These materials create that seamless, luxury appearance that basic trim simply can’t match.
Polished stone edges make striking visual statements in kitchens and bathrooms alike.
The polishing process takes just minutes of wet sanding but delivers dramatic results. Most natural stone edges polish beautifully with minimal effort compared to other finishes.
Local fabricators typically offer stone in 2cm or 3cm thickness options for custom applications. These thickness choices let you match your specific project needs without compromise.
Maintenance Tips for Tile Trim

Proper trim maintenance keeps your tiled surfaces looking spectacular for years.
- Clean regularly with mild cleaners and soft cloths to prevent buildup on trim surfaces.
- Always match cleaning products to your specific trim material to avoid damage.
- Tackle stains immediately, especially those stubborn hard water spots and soap scum.
- Quick action prevents permanent discoloration that can ruin your trim’s appearance.
- Check your trim periodically for any loose sections or damage that needs attention.
- Fix or replace damaged trim right away to stop small issues from becoming major problems.
- Good ventilation works wonders for preventing moisture damage in bathrooms and kitchens.
- A simple exhaust fan can dramatically extend the life of your tile trim installations.
- Let new adhesive cure fully – typically 24 hours – before exposing it to water or stress.
- Wipe away excess caulk or grout with a damp sponge while it’s still fresh for clean lines.
- Proper grout sealing protects against moisture infiltration that causes deterioration.
Frequently Asked Questions
What are the main types of tile trim?
The main types of tile trim are stone, porcelain or ceramic, plastic, and metal. Each type has its perks, so choose one that fits your style and needs!
How do I choose the right tile trim for my project?
To choose the right tile trim, focus on the material, finish, and depth so it blends with your design and lasts well. Make sure it complements your tiles for a polished look!
What tools do I need to install tile trim?
You’ll need a measuring tape, notched trowel, junior hacksaw, miter saw, adhesive, and grout to install tile trim. Having these tools handy will make the job much smoother!
How do I calculate the amount of tile trim needed?
To calculate the amount of tile trim needed, just measure the tile edge, divide that by the trim width, and add 10% for errors. It’s always smart to round up to be safe!
What are some alternatives to traditional tile trim?
You can totally switch things up with PVC trims, bullnose tiles, or even go classy with marble and polished stone. They can give your space a fresh look without the usual tile trim!

Owner, Cavastone Group
With years of perseverance and pride in what we do we have become a very well known and positioned company in the Architectural and Design industry. The same perseverance, pride and attention to detail that made us become who we are, are the same qualities we strive to provide to all our customers.