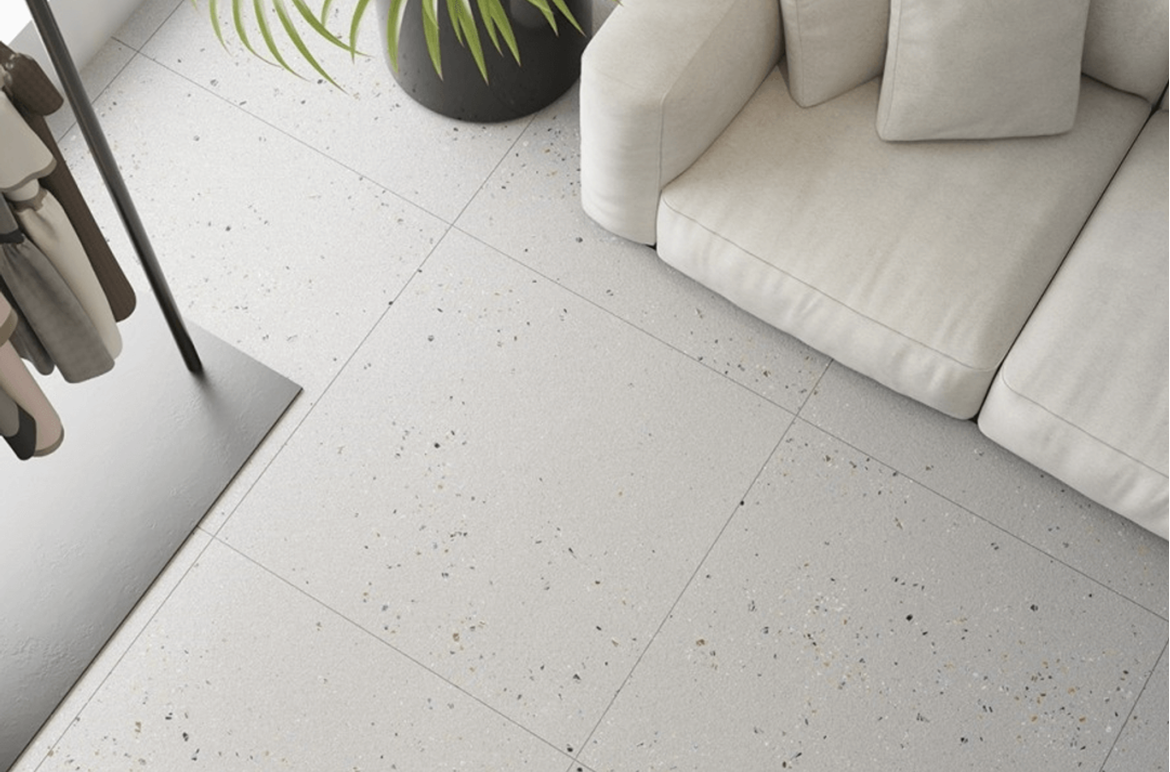
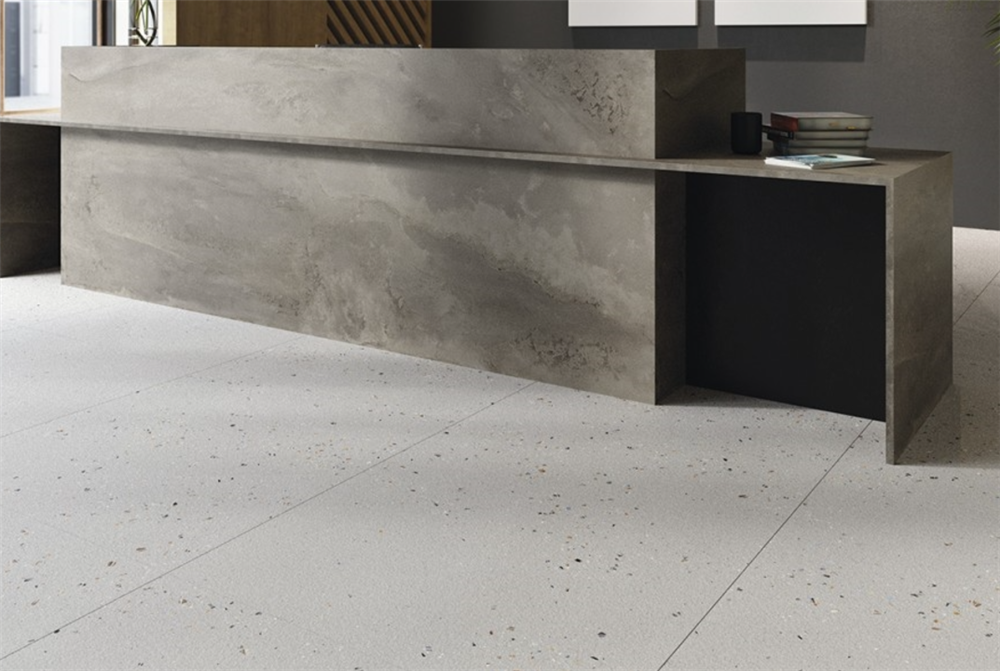
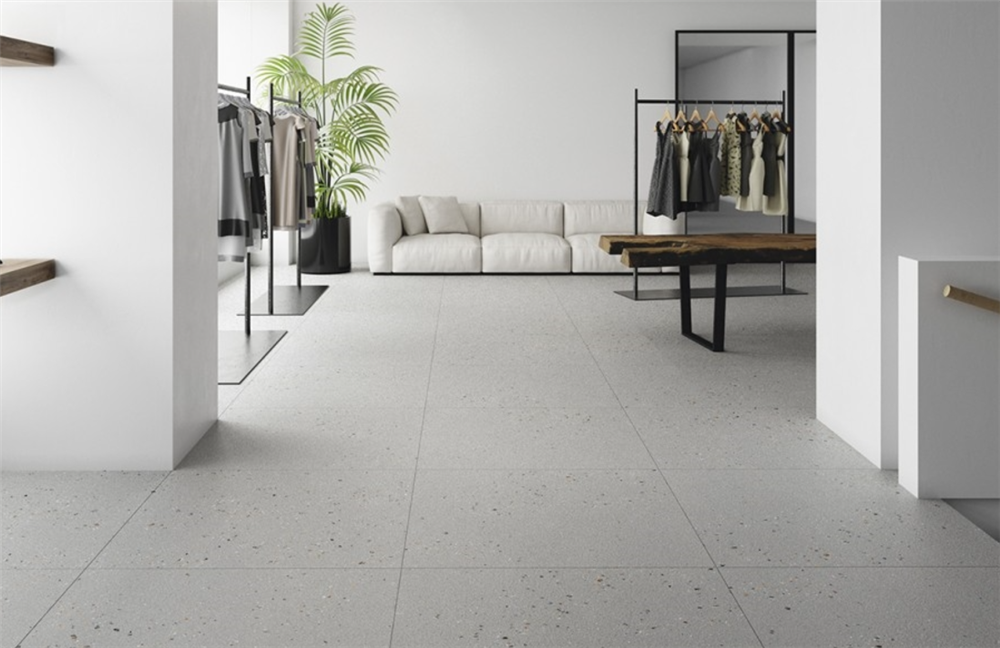
Laying porcelain tiles can transform your space. It offers a durable and stylish flooring option that enhances the aesthetic appeal of any room. Whether you’re upgrading your kitchen, bathroom, or living area, porcelain tiles for walls and floors provide a versatile solution for that mimics the look of natural stone or wood while delivering superior performance.
In this guide, we’ll walk you through the process of laying porcelain tile, ensuring a successful installation that will last for years.
Understanding Porcelain Tiles
Porcelain tiles are made from a refined clay mixture that is fired at high temperatures, resulting in a dense and durable product. This process makes porcelain tiles less porous than ceramic tiles, giving them superior water resistance and durability. Because of these qualities, they are an excellent choice for both indoor and outdoor applications.
When considering luxury tiles in Boca Raton, porcelain tiles stand out due to their ability to withstand Florida’s humid climate while maintaining their beauty and integrity. Their versatility allows homeowners to achieve a high-end look without compromising on practicality.
Preparing for Installation
Before you start laying porcelain tiles, proper preparation is essential for a successful outcome. Here’s how to get started:
Gather Your Tools and Materials:
You will need:
-
Porcelain tiles
-
Thin-set mortar
-
Notched trowel
-
Tile spacers
-
Grout
-
Grout float
-
Level
-
Measuring tape
-
Tile cutter or wet saw
-
Sponge and bucket for cleaning
Prepare the Substrate:
Ensure the surface where you will lay the tiles is clean, dry, and level. Remove any debris, dust, or grease that could affect adhesion. If you’re tiling over concrete, ensure it’s cured and free from cracks.
Plan Your Layout:
Before applying adhesive, plan the tile layout. Start from the center of the room and work your way outwards to ensure symmetry. Dry lay a few tiles to visualize how they will fit together and make adjustments as necessary.
Laying Porcelain Tiles
Now that you have prepared your workspace and planned your layout, it’s time to start laying your porcelain tiles.
-
Mix the Thin-Set Mortar: Follow the manufacturer’s instructions to mix the thin-set mortar until it reaches a smooth consistency. Allow it to sit for a few minutes before using it.
-
Apply Mortar: Using a notched trowel, spread a layer of thin-set mortar onto a small section of the floor (about 3-4 square feet). Hold the trowel at a 45-degree angle to create ridges in the mortar; this helps with adhesion.
-
Lay the First Tile: Begin by placing your first tile at the center point you established earlier. Press down firmly and give it a slight twist to ensure it adheres well to the mortar.
-
Insert Tile Spacers: After laying each tile, insert tile spacers between them to maintain even grout lines. Continue laying tiles in this manner, working outward toward the walls.
-
Cut Tiles as Needed: When you reach the edges of the room or around obstacles (like plumbing), you may need to cut tiles to fit. Use a tile cutter or wet saw for precise cuts.
-
Check for Leveling: As you lay each tile, use a level to ensure it is even with its neighbors. If any tile is higher or lower than its neighbors, adjust it immediately before the mortar sets.
Grouting Your Tiles
Once all your tiles are laid and the mortar has cured (usually 24 hours), it’s time to grout.
-
Mix Grout: Prepare your grout according to the manufacturer’s instructions until it reaches a smooth consistency without lumps.
-
Apply Grout: Using a grout float, apply grout diagonally across the tile surface, pressing it into the joints between tiles. Work in small sections at a time.
-
Remove Excess Grout: After filling all joints, use the edge of your float to scrape off excess grout from the tile surface while ensuring joints remain filled.
-
Clean Tiles: After about 15-20 minutes (or once grout starts to set), use a damp sponge to wipe off any remaining grout haze from the tile surface gently. Rinse your sponge frequently to avoid spreading grout back onto the tiles.
-
Let It Cure: Allow the grout to cure according to manufacturer recommendations (usually 48-72 hours) before walking on or sealing it.
Maintenance Tips for Porcelain Tiles
To keep your newly installed porcelain tiles looking their best:
-
Regular Cleaning: Sweep or vacuum regularly to remove dirt and debris that can scratch surfaces.
-
Mopping: Use a damp mop with a pH-neutral cleaner designed for porcelain tiles.
-
Avoid Harsh Chemicals: Steer clear of acidic cleaners that could damage the glaze on your tiles.
-
Seal Grout Lines: Apply a grout sealer every 6-12 months to protect against stains and moisture infiltration.
Lay Porcelain Tile With Us
Laying porcelain tile is an excellent way to enhance your home’s beauty and functionality while providing long-lasting durability. With proper preparation and installation techniques, you can achieve stunning results that will withstand everyday wear and tear.
If you’re considering upgrading your space with high-quality porcelain options or need expert guidance on selecting luxury tiles for your next project, contact Cava Stone today!
Our knowledgeable team is here to assist you in choosing perfect tile solutions that meet your design needs while ensuring lasting beauty and performance in your home. Let us help you create spaces that inspire!


