Have you ever walked into a fancy hotel lobby and been wowed by the shiny marble floors?
The marble looks fantastic but can quickly become dull and dirty if not maintained.
Spills and even everyday dirt can mess it up!
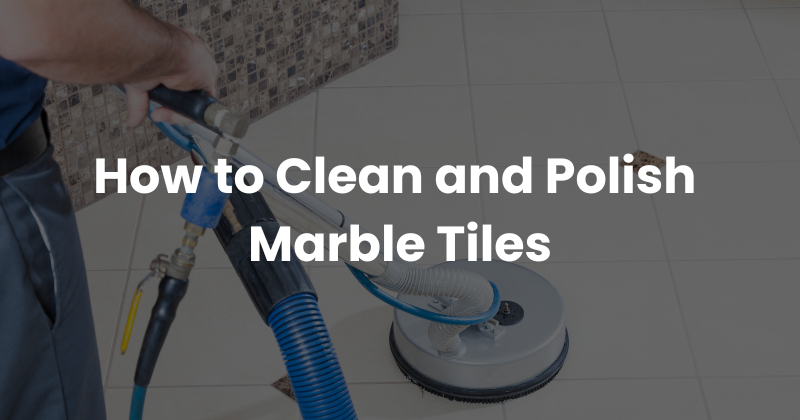
This guide will show you how to clean and polish marble tiles so they always look amazing.
We’ll cover everything you need to know, from the right tools to use to getting rid of tough stains. Let’s get started!
Understanding Your Marble
Okay, so marble looks super fancy but can be a bit sensitive. Think of it like that friend who can’t go out in the rain without an umbrella.
Marble is a bit like that! It’s a natural stone with tiny holes you can’t even see.
These holes mean spills can soak in and stain easily.
Even things like orange juice or vinegar can damage it. You can’t clean marble surfaces with just any old cleaner.
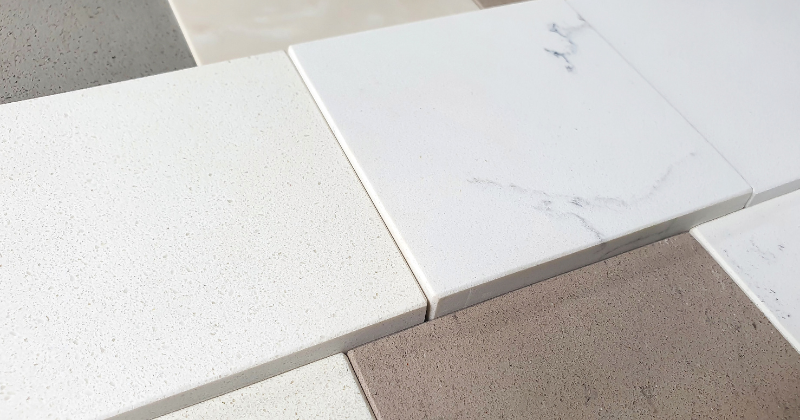
What Kind of Marble Do You Have?
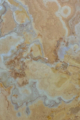
There are many different kinds of marble, including Capri (a classic white), Calacatta (with incredible grey streaks), and Cotoca Brown (a darker brown).
Some are tougher than others. If you know what kind of marble you have, you can take better care of it.
Not sure? Check if there’s any info left over from when it was installed.
Spot the Trouble!
Before you start cleaning, look at your marble floor tiles or countertops.
Are there any stains? Dull spots? Maybe some scratches?
Knowing what you’re dealing with will help you clean it correctly.
Now that you know why marble needs special care, let’s gather what you need to clean marble floors properly!
Gearing Up to Clean
Now that you know what you’re up against, let’s gather your cleaning supplies!
Don’t worry, you don’t need any fancy gadgets.
Here’s the must-have list to clean marble surfaces like a pro:
- Soft cloths: Microfiber cloths are your new best friend. They’re super soft and won’t scratch your beautiful natural stone. Old T-shirts work great, too!
- pH-neutral cleaner: This is a special cleaner that won’t damage marble. It can be found at most grocery stores or online. (We’ll give you some recommendations later!)
- Distilled water: Tap water can sometimes leave spots, so distilled water is the way to go.
- Spray bottles: These are handy for spritzing your cleaning solution.
- Buckets: You’ll need a couple of these for your cleaning solution and rinse water.
Optional extras:
- A soft bristle brush can help scrub stubborn dirt, but be gentle!
- Rubber gloves: Protect your hands from the cleaning solution.
Why pH-neutral Cleaners are a Must
Remember those tiny holes in marble?
Acidic cleaners (like lemon juice or vinegar) can eat away at the stone, causing dull spots called etches.
pH-neutral cleaners are safe for marble and will not damage it.
DIY Cleaning Solution
You can make your own if you don’t have a store-bought cleaner!
Just mix baking soda with warm water until it forms a paste. This works great for oily stains and general marble cleaning.
Don’t Forget to Buff!
After cleaning, you might want to buff the floor with a dry cloth.
This gives it an extra shine and helps prevent those pesky water spots.
Now that your tools are ready, let’s move on to the actual cleaning!
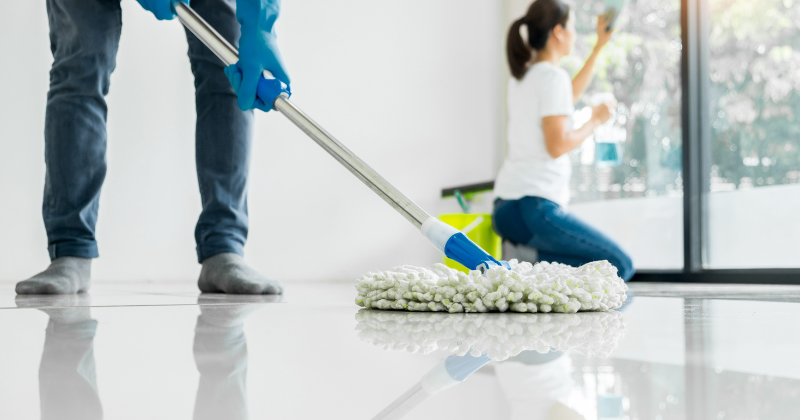
Let’s Get Cleaning!
Time to put on your cleaning gloves (if you’re using them) and get those marble tiles sparkling! Just follow these easy steps:
1. Clear the Stage:
- First, remove anything that’s blocking the area. Move furniture, rugs, and anything else that might trip you up.
2. Dust Bunny Patrol:
- Grab a broom or vacuum with a soft brush attachment and sweep up any loose dirt, dust, or crumbs. Don’t scratch the marble while you’re cleaning!
3. Mix It Up:
- If you’re using a store-bought cleaner, grab your bucket and mix it with distilled water according to the instructions on the bottle. You’re good to go if you’re using the baking soda paste!
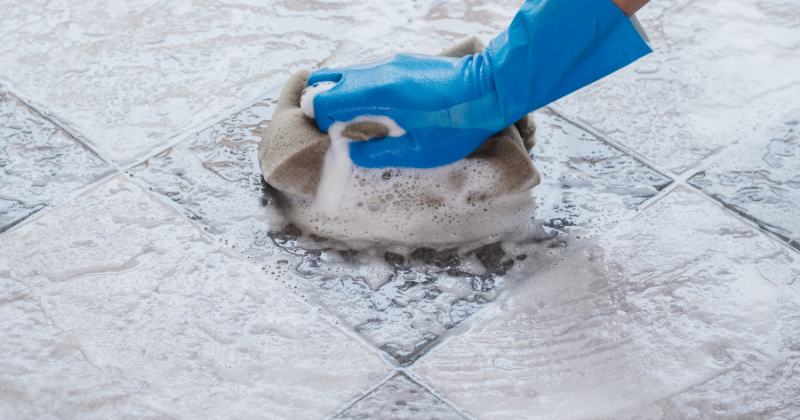
4. Gentle Cleaning:
- Grab your spray bottle and spritz a small section of your marble tiles with the cleaning solution. Don’t soak them! Just a light mist will do.
- Use a soft cloth to wipe the area gently in a circular motion. Don’t scrub too hard; you don’t want to damage those luxury stone tiles.
- If you have a stubborn spot, you can try using a soft-bristled brush, but be extra careful!
5. Rinse and Repeat:
- Once you’ve cleaned a small section, grab another bucket filled with clean water and rinse the area thoroughly. This will remove any leftover cleaner.
- Repeat steps 4 and 5 until you’ve cleaned the entire floor.
6. Dry Like the Wind:
- Grab a clean, dry cloth and dry the marble tiles completely. This will prevent water spots and keep your floor looking shiny.
Coming Up: Dealing with Tough Stains
Sometimes, plain old cleaning isn’t enough. In the next section, we’ll tackle stubborn stains that won’t disappear!
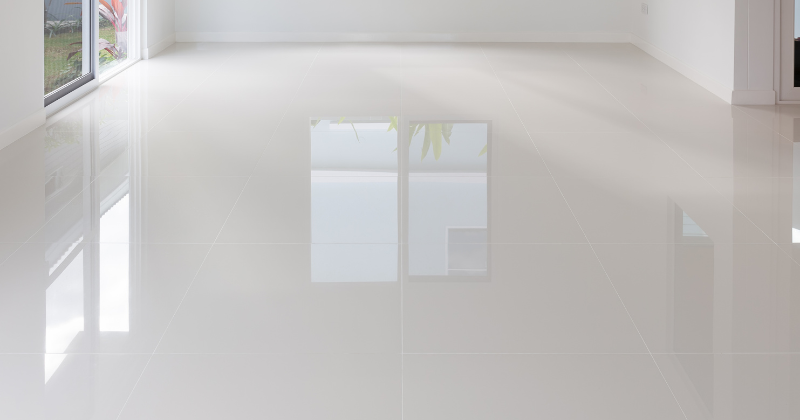
Polishing Marble Tiles for Extra Shine
Okay, you’ve cleaned your marble, and it looks pretty good! But to take it to the next level and give it that “wow” factor, you need to polish it.
Why Bother Polishing?
Think of polishing like giving your marble a spa day.
It not only makes it shine like crazy but also helps protect it from future stains and damage.
Picking the Right Polish
There are a few different types of marble polish:
- Powder classic option: buff out minor scratches and give your marble a deep shine.
- Liquid: This is easier to apply than powder and can be a good choice for regular maintenance.
- Spray: This is the most convenient option and is perfect for quick touch-ups.
Your local hardware store or online retailers will have plenty of options. Just make sure to choose one that’s specifically designed for marble!
Polish Power!
Here’s how to polish your marble like a pro:
- Clean Slate: Make sure your marble is immaculate and dry before polishing. Any leftover dirt or cleaner can scratch the surface.
- Apply with Care: Follow the instructions on your chosen polish. Usually, you’ll apply a small amount to a section of the marble and spread it evenly.
- Buff It Up: Grab a clean, soft cloth and buff the polish into the marble using circular motions. This is where you get your arm workout! Keep grinding until you achieve the desired shine.
- Shine Bright: Step back and admire your handiwork! Your marble should be gleaming like new.
How Often Should You Polish?
That depends on how much traffic your marble gets.
If it’s a high-traffic area, like a kitchen floor, you might need to polish it more often (every few months).
For less-used areas, once or twice a year might be enough.
Now that you know how to clean and polish your marble, let’s move on to some essential tips for keeping it looking its best!
Maintaining Your Marble Tiles
You’ve cleaned and polished your marble, which looks like a million bucks! Now, let’s talk about how to keep it that way.
Prevention is Key!
Just like brushing your teeth to prevent cavities, a little daily care will go a long way toward protecting your marble.
Here are some easy tips:
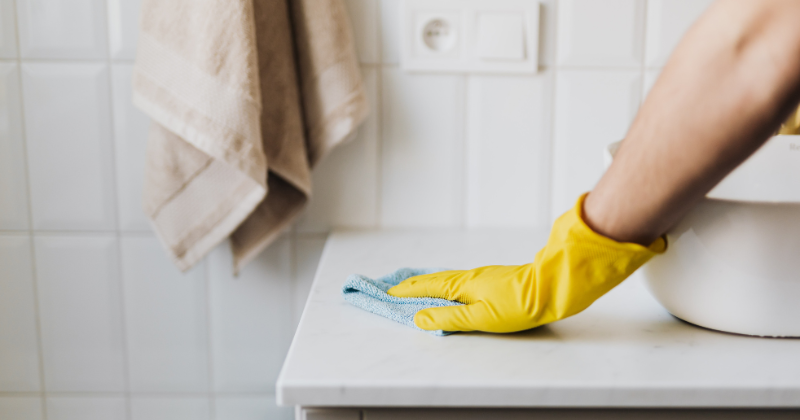
- Coaster Power: Always use coasters under glasses, especially if they contain something acidic (like orange juice or soda).
- Wipe It Up: Spills happen! But they’re less likely to stain if you wipe them up right away.
- No Harsh Stuff: Remember those pH-neutral cleaners we talked about? Stick with them! Avoid using anything acidic, such as vinegar, lemon juice, or bleach. Also, skip harsh scrubbers—they can scratch the surface.
- Doormat Duty: Place mats at entrances to catch dirt and grit before they get tracked onto your marble floors.
Sealing the Deal
Think of sealing your marble like putting a protective shield on it.
Sealant helps prevent spills from soaking in and causing stains.
You can find marble sealant at most hardware stores. Here’s the lowdown:
- Find a Pro: If you’re uncomfortable sealing the marble yourself, hire a professional.
- DIY Sealing: If you’re handy, you can do it yourself! Just follow the instructions on the sealant bottle. Usually, you’ll apply the sealant to the clean marble, let it soak in, and then wipe off any excess.
- Repeat as Needed: You’ll need to reseal your marble occasionally, maybe once a year. The sealant bottle will tell you how usually.
Calling in the Experts
If your marble is dirty or damaged, call the professionals.
They have the special tools and know-how to get it looking its best.
Tackling Tough Stains
Remember those stubborn stains we talked about earlier? Here are a few extra tips:
- Oily Stains: Try using a paste of baking soda and water. Apply it to the stain, let it sit, then wipe it away.
- For organic Stain (like coffee or juice), mix baking soda and hydrogen peroxide. Add a few drops of ammonia if needed. Apply the paste to the stain, let it sit, and then wipe it away.
- Rough Stains: If you have a stain that won’t come out, use a poultice. This unique paste draws the stain out of the marble. Poultice powder is available at most hardware stores.
With a little TLC, your marble will stay beautiful for years!
Troubleshooting the Problems
Even with the best care, sometimes things happen.
Maybe you spilled something and didn’t notice it immediately, or your furry friend had a little accident on the floor. Don’t worry; we’ve got you covered!
Dullness Dilemma
If your marble looks dull, it might just need a good polishing.
Try using a polishing powder or liquid to bring back the shine. If that doesn’t work, you might need to have it professionally honed.
This is like a super deep clean, removing a thin layer of marble to reveal a fresh, shiny surface.
Etch Attack!
Etches are those dull spots that happen when something acidic comes into contact with marble.
If the etch is minor, buff it with a polishing powder.
But if it’s deep, you’ll probably need to have it professionally honed.
Stain SOS
We’ve already talked about some stain-removal techniques, but here’s a quick recap:
- Oil-based stains: Baking soda paste
- Organic stains: Baking soda and hydrogen peroxide paste (with a few drops of ammonia if needed)
- Ink stains: Acetone (for darker marble) or hydrogen peroxide (for lighter marble)
- Super stubborn stains: Poultice powder
Scratching the Surface
Minor scratches can often be buffed out with marble polishing powder.
However, for deeper scratches, you might need to hire a professional.
Chips and Cracks
Uh oh! If your marble has a chip or crack, it’s best to consult a professional for repair.
They can often fill in the damage and make it practically invisible.
Remember, marble is a natural material, so it’s expected to show some wear and tear over time.
But with proper care and maintenance, your marble will stay beautiful for many years!
Conclusion
Wow, we’ve covered a lot! You’re now a marble cleaning expert, ready to tackle any mess.
Remember the simple steps: gentle cleaning solutions, quick spill cleanups, and a bit of polishing now and then.
Who knew keeping your marble looking amazing could be so easy?
So, go ahead and show off those sparkling floors and countertops!
And hey, if you have any questions, share them in the comments below, or visit us at our Cavastone Tile Showroom in Boca Raton.
Frequently Asked Questions
Can I use regular dishwashing soap to clean marble?
Avoid using dishwashing soap on marble. Many contain harsh ingredients that can strip away the sealant and dull the surface over time. Instead, stick to pH-neutral cleaners specifically designed for natural stone.
How often should I seal my marble floors?
This depends on the sealant type and the foot traffic the floor receives. Generally, resealing every 6 to 12 months is recommended. However, always refer to the manufacturer’s instructions for your specific sealant.
What’s the difference between honing and polishing marble?
Honing uses abrasive pads to smooth out the surface of the marble, removing scratches and etches. Polishing, on the other hand, uses finer abrasives to create a shiny finish.
Can I use vinegar to clean marble?
No, vinegar is acidic and can etch marble surfaces, causing dull spots and damage. To avoid harming your marble, always opt for pH-neutral cleaners.
How can I tell if my marble needs to be resealed?
An easy test is to sprinkle a few drops of water on the marble. If the water beads up, the sealant is still effective. If the water soaks in, it’s time to reseal.

Owner, Cavastone Group
With years of perseverance and pride in what we do we have become a very well known and positioned company in the Architectural and Design industry. The same perseverance, pride and attention to detail that made us become who we are, are the same qualities we strive to provide to all our customers.