Quick Answer: How To Regrout Tile
The process for regrouting tile means removing grout that is old and deteriorated from every joint and packing the space with fresh grout, rather than layering new grout over material that has already failed. Full regrouting works best when damage spans an entire floor, wall, or shower rather than a few isolated cracks.
The process runs from removal through mixing, application, cleanup, and cure time, keeping in mind that natural stone and large-format porcelain each call for their own precautions along the way.
How to regrout tile comes down to one rule: remove what has failed before adding anything new. For best results, follow this rule whether your project involves porcelain or natural stone. At Cavastone, we work with architects, contractors, and homeowners across South Florida, and grout longevity is one of the most common questions we hear after installation. This guide covers assessment, tools, safe removal, mixing, application, and the cure schedule that keeps a regrouting project looking sharp for years.
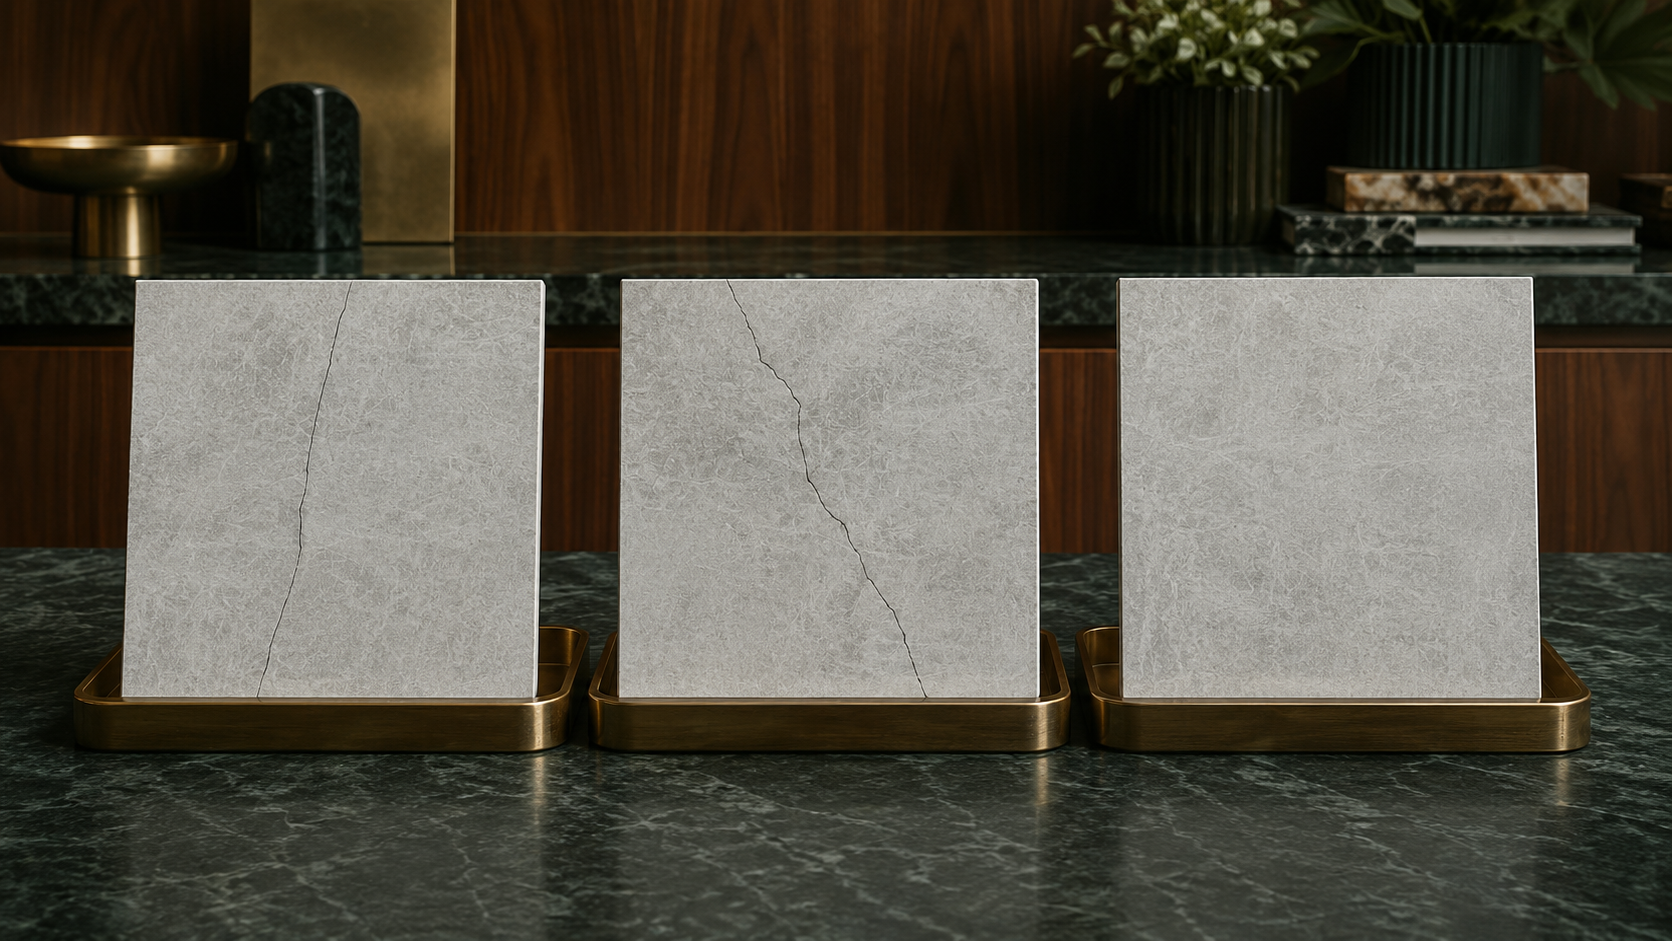
What You Should Know Before You Start
Does My Project Need a Full Regrout or a Spot Repair?
- Isolated hairline cracks in an otherwise solid joint usually call for a targeted patch, not a full re-grout.
- Full regrouting makes sense when damage spans a large share of the joints, or a previous patch has already failed.
Do I Really Need to Remove All the Old Grout First?
- Yes, for anything beyond a cosmetic touch-up, existing grout should be removed as new grout needs depth and doesn’t bond reliably to old, cured grout.
- Guidance from the Tile Council of North America (TCNA) calls for removing at least two-thirds of the depth of the old grout before repacking a joint.
How Do I Protect Natural Stone During Regrouting?
- Sanded grout can scratch softer, polished surfaces and stones such as marble or honed travertine, so confirm compatibility first.
- The Natural Stone Institute notes that sealing makes stone more resistant to staining, but not stain-proof.
What Tools and Safety Gear Does This Project Require?
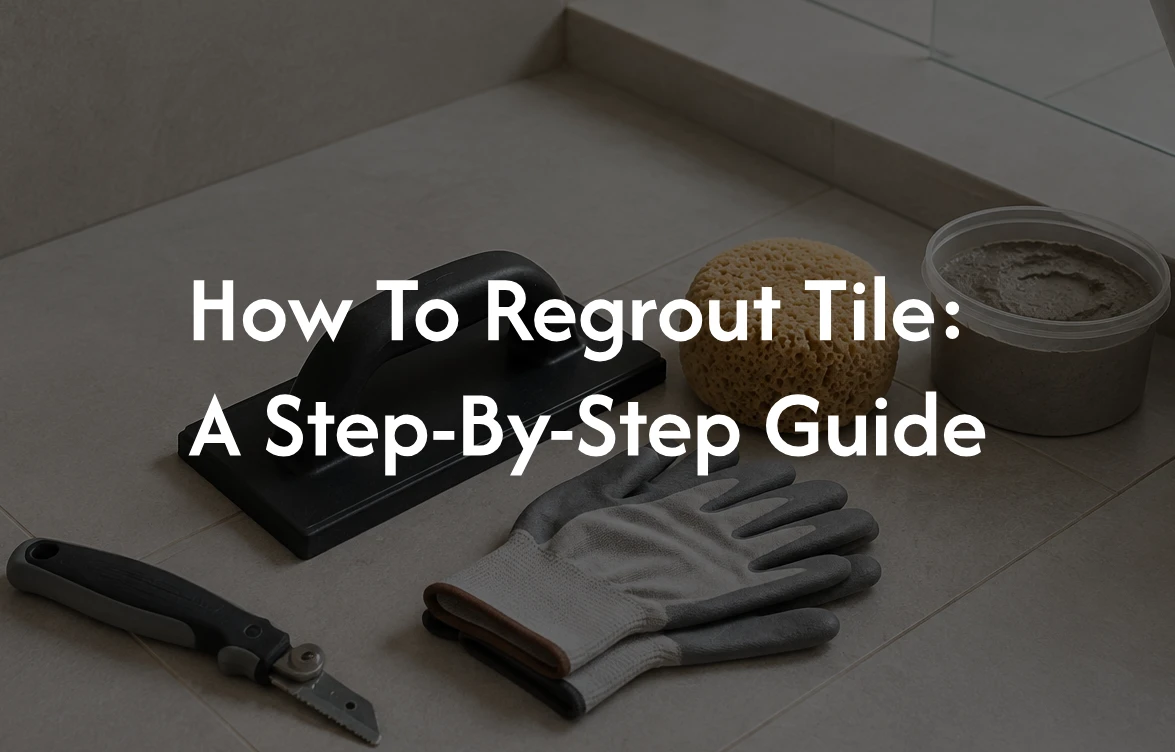
- A grout saw or oscillating multi-tool, rubber grout float, mixing bucket, sponges, and matching grout are the core supplies needed.
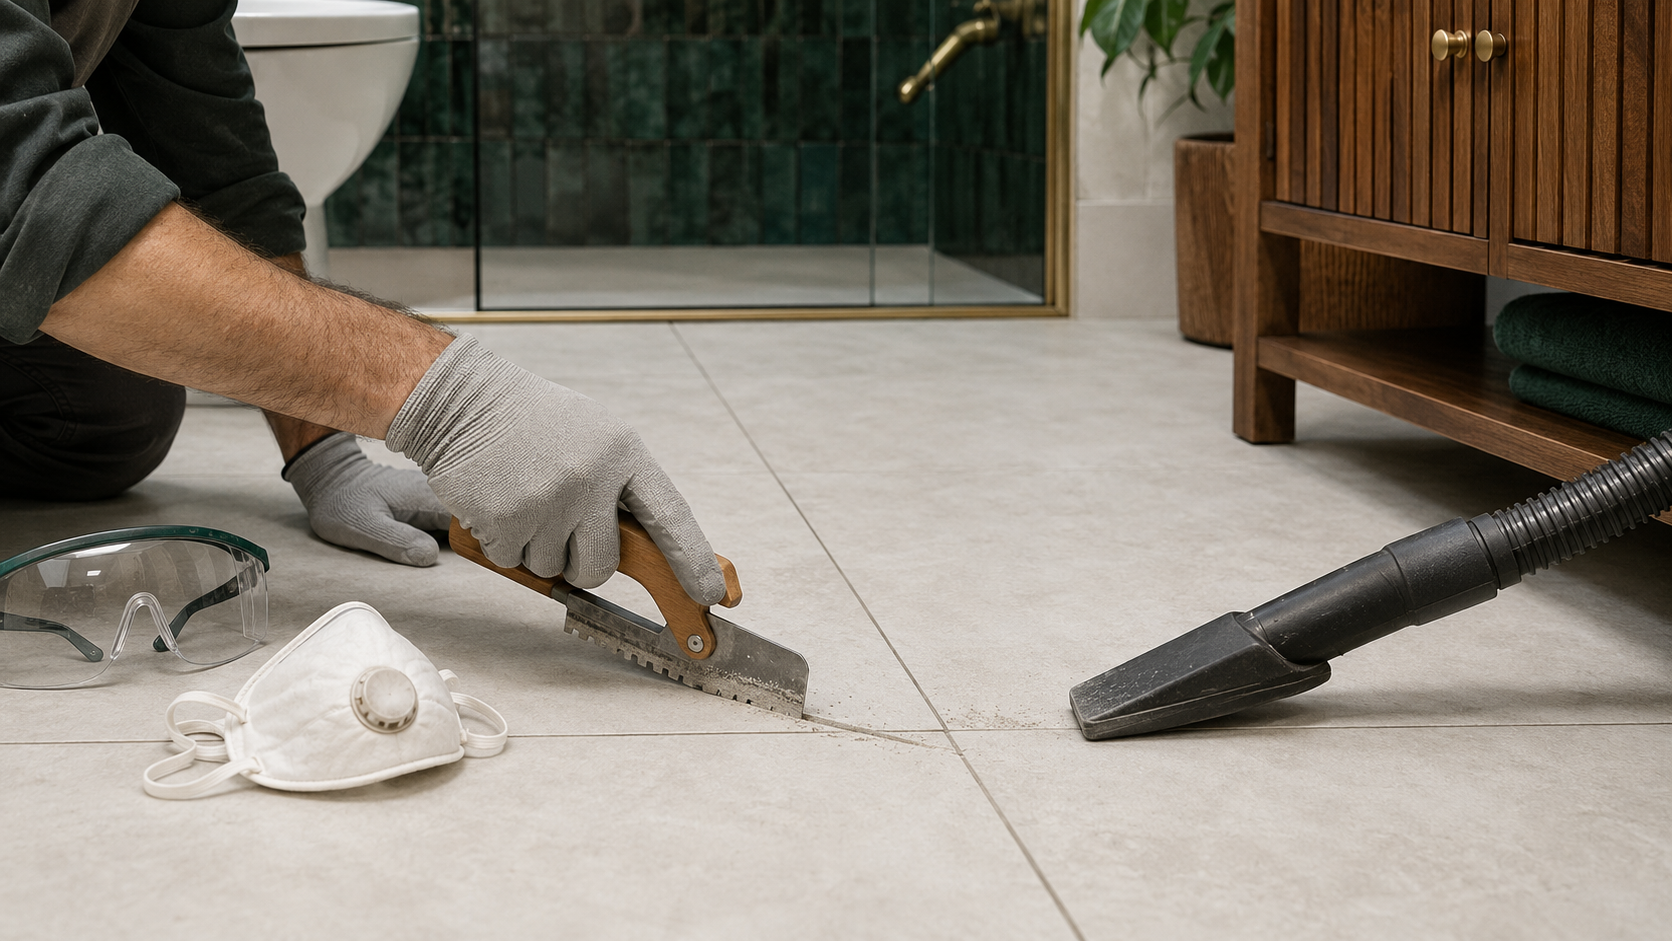
- Always wear eye protection, rubber gloves, and a dust mask when cutting or scraping old grout.
When Should I Call a Qualified Installer Instead?
- Loose or hollow-sounding tile, recurring cracks in the same joint, or visible damage to the substrate, which is the underlying base layer, point to a problem that regrouting alone cannot fix.
- Large-format porcelain and natural stone raise the cost of a mistake, so many trade professionals bring in a Certified Tile Installer for those projects.
- How To Regrout Tile: Assessing the Damage
- Choosing the Right Grout for Your Project
- Gathering Tools and Preparing the Work Area
- Removing Old Grout
- Cleaning and Preparing Joints
- Mixing and Applying New Grout
- Cleanup, Curing, and Sealing
- When to Stop and Call a Qualified Installer
- Why Choose Cavastone
- FAQ: Common Tile Regrouting Questions
How To Regrout Tile: Assessing the Damage
Regrouting an entire floor, wall, or shower makes sense when damage moves beyond a few isolated joints. Walk the space and look at how much grout is affected, whether the color stays consistent, and whether any tile has cracked or come loose.
If only a handful of isolated joints show hairline cracks, a targeted patch often solves the problem. Once damage spreads further, or a previous patch has failed, then a full re-grout gives a more uniform result instead of a patchwork of repairs.
Understanding the causes of cracked grout helps you catch problems early. Movement in the subfloor, missing expansion joints, and improper mixing are the most common culprits.

Choosing the Right Grout for Your Project
Grout selection is important and depends on joint width, tile face, and where the installation is located. Using the wrong grout type can cause cracks, shrinking, rapid staining, water leaks, and loose tiles over time.
A simple rule from TCNA keeps this decision straightforward. Joints at 1/8 inch or wider call for sanded grout, and for narrower joints, unsanded grout is more suitable. The difference matters most with polished or delicate tile faces, where sand particles in the grout can damage the surface.
Epoxy grout is better suited to wet areas like showers and commercial kitchens because it resists water and staining better than cement-based grout, though it costs more and takes more skill to apply.
Good to Know: Match your new grout to the joint width and tile type of the original installation, not just to whatever shade looks close on the shelf. A small chip of your existing grout, brought to the showroom, makes for a far more accurate match under real light.
Natural stone shifts the decision. Sanded grout and polished or honed surfaces don’t mix, as the sand particles can scratch the finish, and TCNA advises against it for Marble tile and slabs or similar stones. Check compatibility with your supplier before you buy. A quick conversation now is far easier than fixing a scratched surface later.
Gathering Tools and Preparing the Work Area
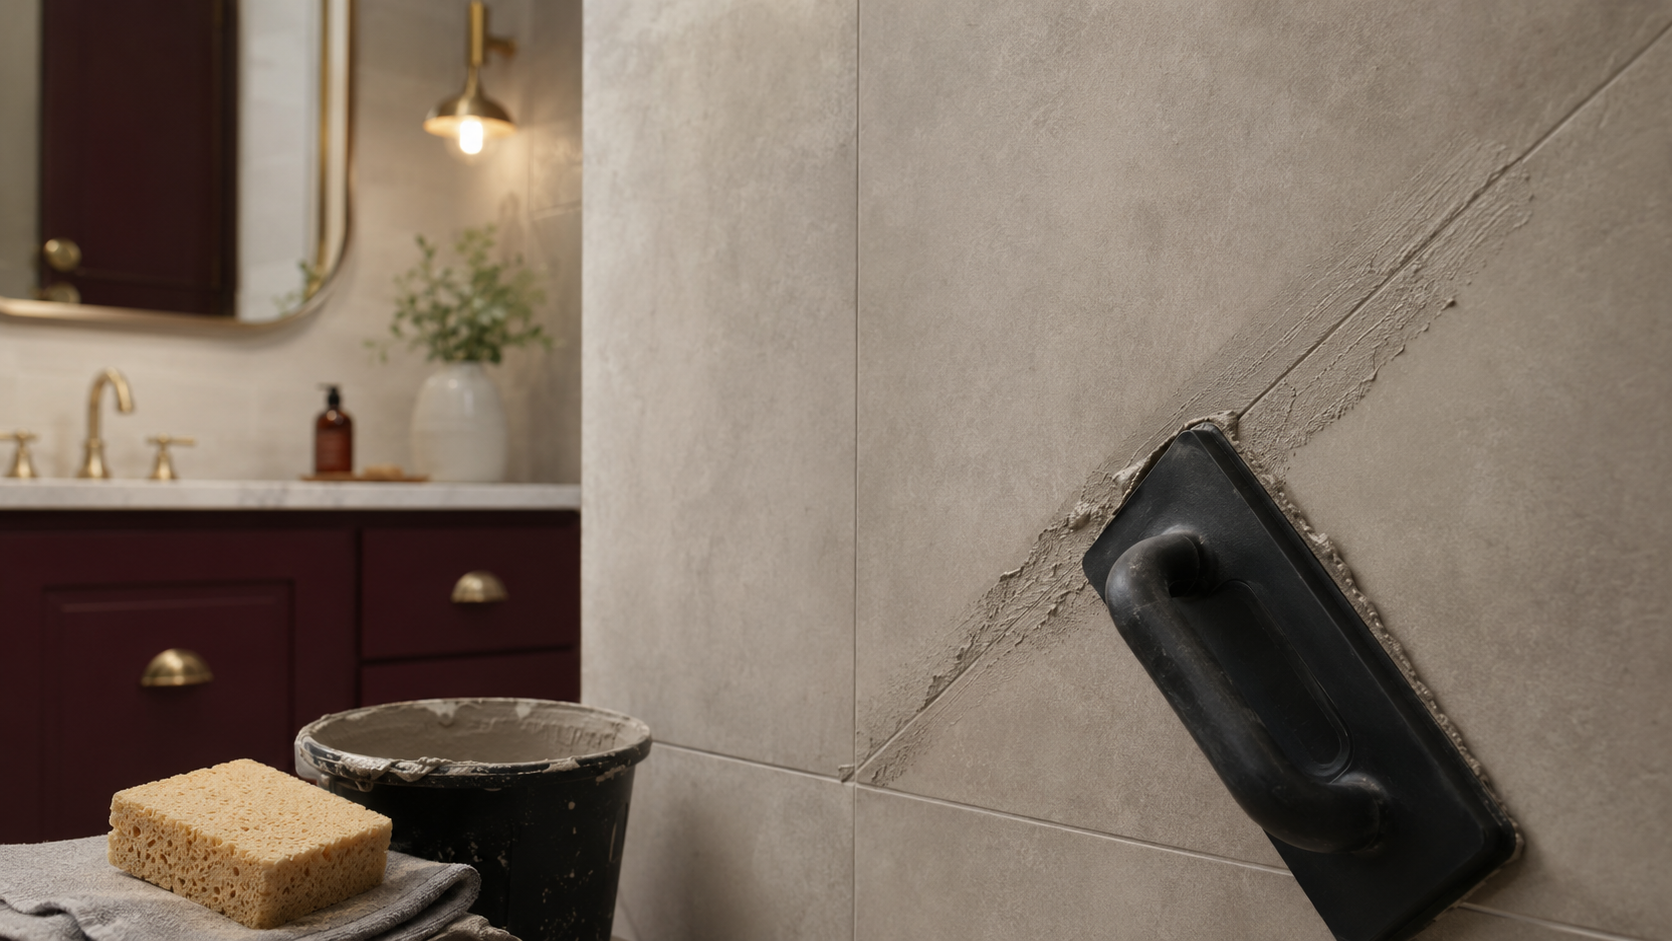
Having the right tools ready before you start makes the whole regrouting process smoother and faster. Clear the room of furniture and rugs, and open a window or run a fan for ventilation.
- Grout saw or oscillating multi-tool with a grout removal blade.
- Vacuum for grout dust and debris.
- Matching grout, sanded, unsanded, or epoxy as your project requires.
- Rubber grout float.
- Mixing container and clean water.
- Damp sponges and dry towels.
- Grout sealer, if your product calls for one.
- Eye protection, dust mask, and rubber gloves.
Cover any fixtures or surfaces you want to protect from grout dust. Work in small sections and small batches, ideally what you can complete before the grout begins to set, to keep the project manageable and reduce rushed, sloppy joints.
Removing Old Grout
Removal of existing grout is the step that determines whether your new grout will hold. TCNA guidance calls for removing at least two-thirds of the depth of the old grout before regrouting for best results.
Start by running a grout saw or oscillating tool along the grout lines, working slowly and keeping the blade centered between tiles. Angle the tool away from the tile edges to avoid chipping the glaze or scratching a polished stone face. You can use a utility knife to help clean out remaining grout pieces.
To minimize dust, vacuum each section as you go rather than waiting until the end. Trapped dust and grit will work back into the joint and weaken the bond of your new grout.
Watch Out: Rushing this step is the most common way a regrouting project damages the tile itself. If the grout saw catches a tile edge and chips the tile surface, you will be looking at tile replacement, which costs considerably more for natural stone or large-format porcelain.
Porcelain tends to release old grout more easily than natural stone, since grout adheres more readily to porous surfaces, as TCNA notes, and dense, impervious stone tile holds on longer. If you are working with natural stone, take smaller sections and check your progress as you go.
Cleaning and Preparing Joints
Once all the grout is out, clean each joint before mixing anything new. The best way to clean joints is to vacuum first, then wipe with a damp sponge to lift any remaining dust, rinsing often so you are not redepositing grime.
Let the open joints dry completely before you apply new grout, since trapped moisture weakens the bond and can cause uneven curing. While joints are open, check for loose thinset mortar, cracked tile, or substrate movement. This is the easiest point in the project to notice a problem before it gets resealed back under new grout.
Mixing and Applying New Grout
Always follow the instructions provided by your grout manufacturer for the correct water ratio and mixing time. These figures vary by product, so the technical data sheet is the authority here, not a general rule.
Once mixed, let the grout rest for the manufacturer’s specified time, this slaking period allows the mixed grout to fully absorb water and activate before you apply it. TCNA notes that skipping this step and adding water later to loosen grout that has started to set is among the most common causes of a weak or uneven joint.
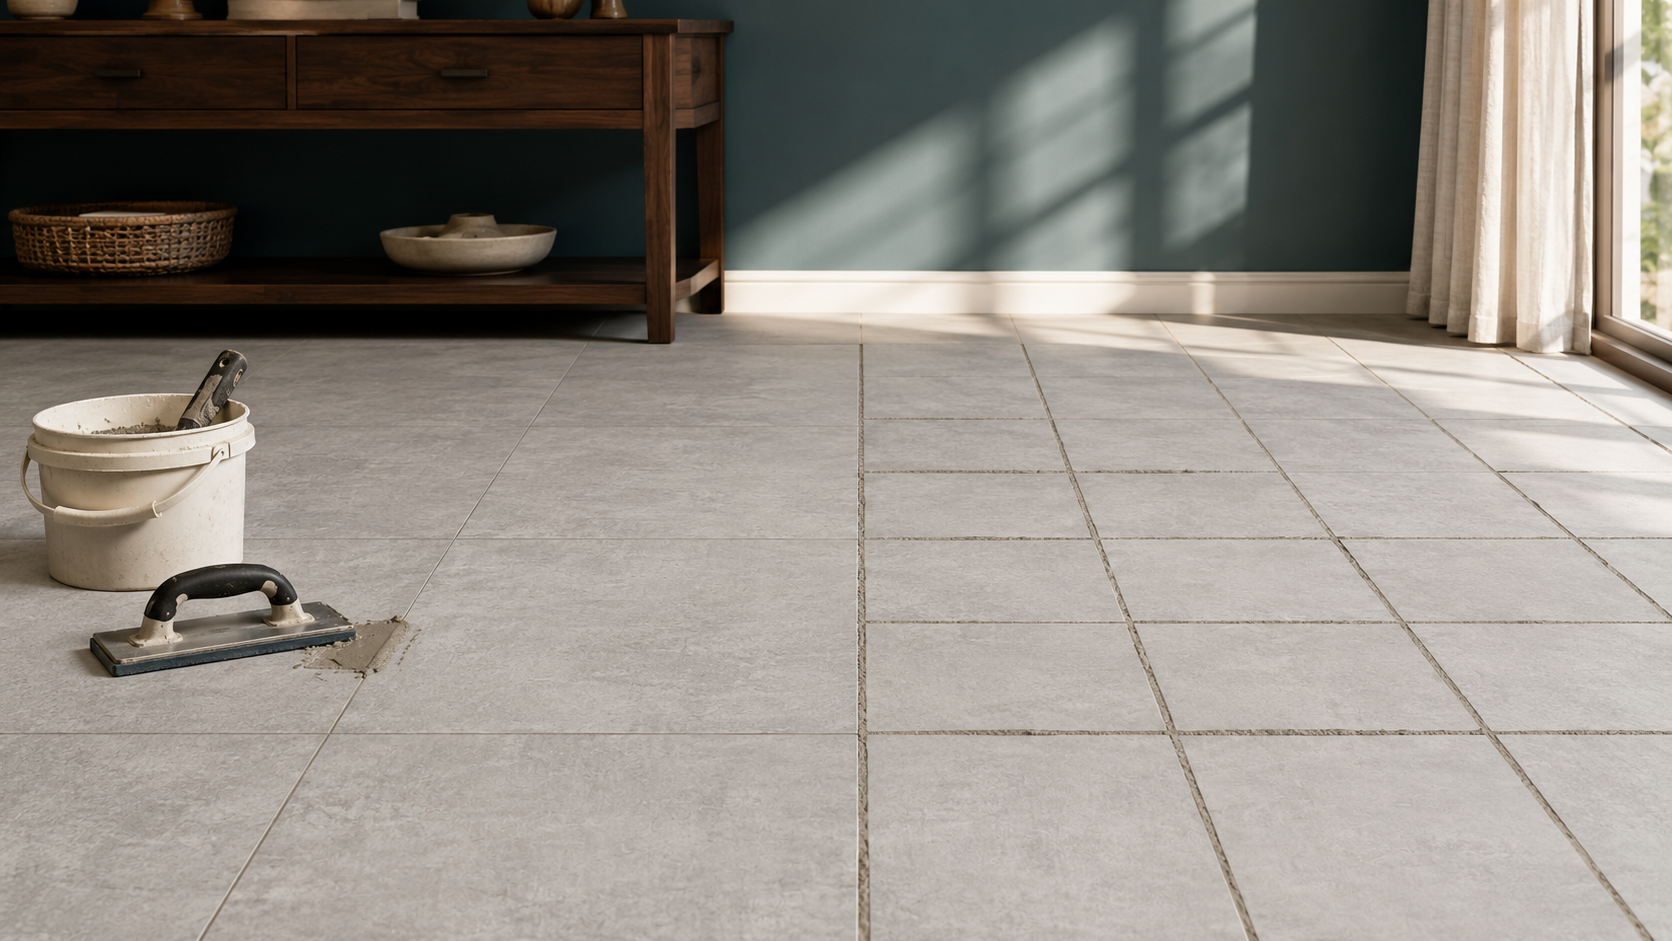
Holding your rubber grout float at roughly a 45-degree angle, work diagonally across the joints, packing grout fully into the space instead of dragging it back out to avoid gaps.
Pro Tip: Mix only what you can use within your grout’s working time. A batch that starts to stiffen in the bucket will not pack properly, and adding water to loosen it only weakens the cured joint, which could cause cracked grout.
Work in small sections so you can wipe away excess grout before it hardens on the tile face. For natural stone, a lighter touch and more frequent wipe-downs help avoid grout haze.
Cleanup, Curing, and Sealing
Wait for the manufacturer’s set time after applying grout, typically 15 to 30 minutes, then wipe the tile surface with a barely damp sponge, rinsing often so you are not spreading residue around. This is when grout haze forms: a chalky film that settles on the tile face as the grout begins to dry. Work in small passes and rinse frequently to lift it before it hardens.
Once the haze clears, buff the tile with a dry cloth. Follow the product’s cure schedule before allowing foot traffic, and keep the area dry for the full window your manufacturer specifies.
Sealing comes last, and only for products that call for it. Cement-based grout typically benefits from a penetrating sealer once fully cured to prevent mildew. When it comes to cleaning beforehand, TCNA recommends an alkaline cleaner over acidic or oil-based products, as cement-based grout reacts poorly to acids.
Epoxy grout needs no sealing at all, it is naturally resistant to staining without one.
When to Stop and Call a Qualified Installer
Regrouting solves a grout problem, but it will not fix a substrate problem, and knowing the difference protects your tile and your budget.
Call a professional when tile feels loose or sounds hollow across a wide area, when cracks return to the same joint, or when substrate damage is visible once the old grout is out.
Large-format porcelain and natural stone raise the stakes higher, since mistakes are often expensive to correct. The Ceramic Tile Education Foundation notes that a Certified Tile Installer offers assurance that uncertified labor cannot match.
If you are unsure which category your project falls into, bring photos or a sample to our Boca Raton showroom for guidance.

Why Choose Cavastone
A well-executed re-grout extends the life of an installation, but the joints themselves are also a design decision made long before anyone reaches for a grout float. Fewer, narrower joints mean less grout to maintain, one reason large-format porcelain has become a popular upgrade for clients tired of frequent regrouting.
Connie Davalos founded Cavastone in 2006, and our team has spent nearly two decades helping architects, designers, contractors, and homeowners across South Florida specify porcelain and natural stone suited to the local climate.
Stop by our showroom at 646 Park of Commerce Way, Boca Raton, Florida 33487, call us at 561-994-9100, or contact us to talk through your options.
Learn more about Cavastone’s material expertise on our About Us page.
Ready to plan your regrouting project or explore a lower-maintenance material instead?
FAQ: Common Tile Regrouting Questions
Can You Regrout Over Old Grout?
It is not recommended for anything beyond a cosmetic touch-up. New grout rarely bonds well to existing grout that has already cured. Removing at least two-thirds of the old grout’s depth gives new grout a surface it can actually bond to.
How Do You Remove Old Tile Grout Without Damaging the Tile?
Keep the blade centered in the grout line and angle away from the tile edge to prevent damage. Porcelain often releases grout more easily than natural stone, so work in smaller sections on natural stone installations.
Is Regrouting a Tile Floor Difficult for a Beginner?
A small, isolated area is a reasonable weekend project with patience and the right tools. Larger floors, showers, and natural stone raise the difficulty and cost of a mistake.
Does Regrouting a Shower Work Differently Than a Floor?
Showers see constant moisture, so cure time and sealing matter even more. Give shower grout the full cure window, often between 24 and 48 hours, and confirm whether it needs a sealer before the water goes back on.
Can I Re-grout Natural Stone the Same Way as Porcelain?
Not always. TCNA advises against sanded grout for marble and similar stones, as the sand can scratch polished or honed surfaces, such as travertine. Some stone benefits from a pre-seal step before grouting. Confirm compatibility with your supplier first.
How Long Does New Grout Need to Cure Before I Can Use the Space?
Cure time depends on the product you use, so check the manufacturer’s technical data sheet rather than assuming a universal number. Keep the area free of foot traffic and water until instructions say it is ready, which can be anywhere from 24 to 72 hours for full strength.
How Do I Match My New Grout Color to My Existing Tile?
Bring a small chip of your current grout to the showroom for an accurate match under real light, since phone photos can shift color.
What If My Grout Keeps Cracking in the Same Spot After I Regrout Tile?
Repeated cracked grout in one spot often means the underlying base layer, known as the substrate, has moved, and not a grout problem. If a repair fails, review the causes of cracked grout before you regrout tile a third time.

Owner, Cavastone Group
With years of perseverance and pride in what we do we have become a very well known and positioned company in the Architectural and Design industry. The same perseverance, pride and attention to detail that made us become who we are, are the same qualities we strive to provide to all our customers.